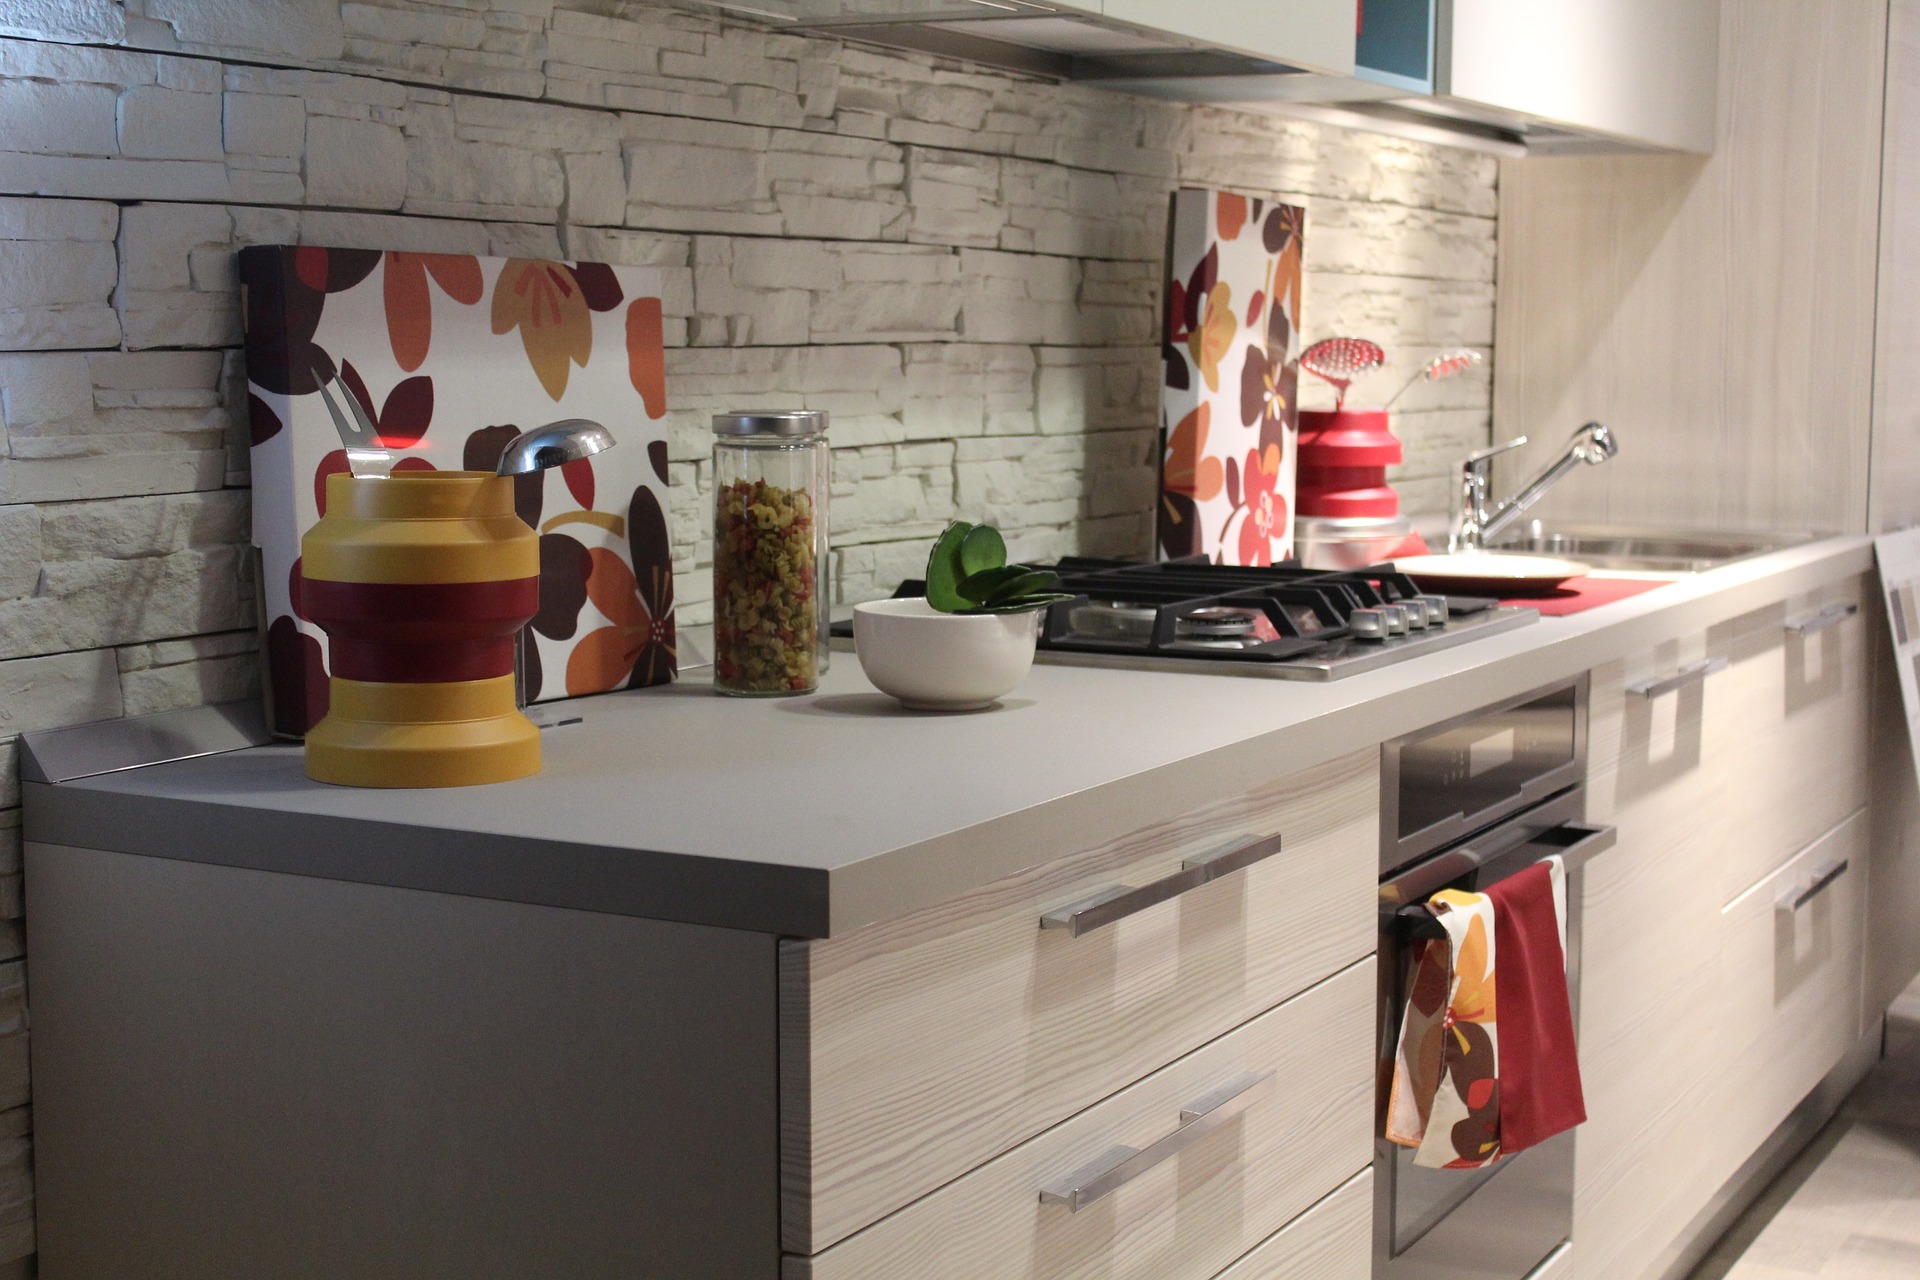
Stainless Steel Engraving has now become a vital part of most modern offices and homes. The process of stainless steel engraving is not as simple as you think it is. There are some very important considerations that one must take when it comes to making this type of engraving process. Stainless Steel engraving can be a very tedious and time-consuming process if not planned correctly. The following are some tips for a well-prepared and successful process of stainless steel engraving.
First, one must decide on the purpose of the item when thinking of a purpose for stainless steel engraving. If the design is for personal use only, such as a logo or design for your car, then one can just leave it off as an accent. However, it will never go out of style and will always exude elegance and class. There are other items for the business world, such as pens and calculators, but for other types of items such as jewelry, art supplies, and office supplies, it is best to plan the process.
Next, you must think about the style. When thinking of the design itself, one may start with the basics, such as a simple straight line or a flower pattern. But if the design calls for something more complex, such as a Celtic or tribal pattern, one must decide on the size, shape, material, and color. It is very easy to overdo it when planning, and there is a fine line between overdoing it and being creative.
Third, you must choose a high-quality stainless steel engraver that will produce the engraving you want. While many cheap, no-name brand steel engravers may be available at your local hardware store, they are usually not very good at producing intricate details. The price that you pay for a good quality product is worth it. Stainless Steel Engraving from good craftsmanship and a great reputation will cost more, but it will also last longer.
Once the design is decided upon, it must be made on a metal plate using an acid-free engraving solution. This solution must have been applied to the metal through pressure-sensitive rollers before it is applied to the surface, and it should remain for a few minutes. The metal will darken as it cures, and it will create a raised image as it hardens. This image can be cut into precise sections and turned if necessary to create the image you desire. If there are grooves created, these must be engraved as well.