If you operate in photography and video industry, you surely know how LED light panels can be of much assistance. The panels also have applications in retail signage and office and home lighting. LEDs are useful energy savers and have a longer lifespan than conventional lighting devices such as fluorescent tubes and bulbs. As you probably know, getting a good panel from a store will cost you a significant amount of money. Why not fabricate a board on your own to save cash? Collect the necessary items and follow the steps below.
Fixing LED strips onto a plywood
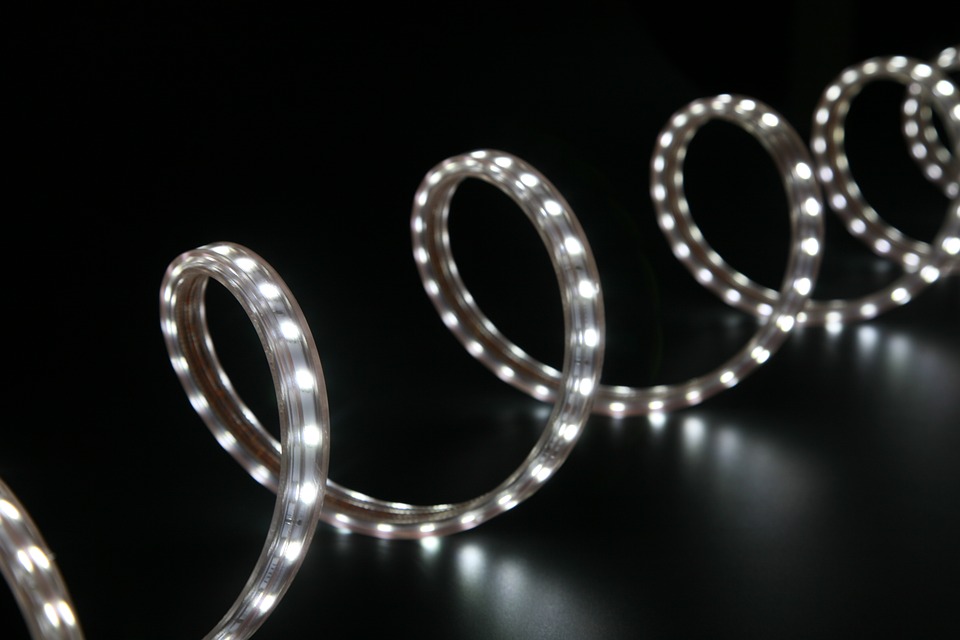
The length of the LED strip required will depend on your preferences, but for this project, let’s use a 10m piece. Cut the strips on the right spots to fit the length of plywood and be keen to leave some space at the ends for wire connection. Mount the strips on the board using glue or tape.
Solder the strips together
Strip off two thick cables to fit the widths of the panel and cut each of the bare wires into two. Drill two holes in the middle of the width’s edge to form outlets for each of the two halves. Position the bare cables spreading from the center holes to the ends along the edge of the plywood. Now it’s time to connect the LED strips to the large cable you had fixed earlier.
On the right side of the panel, solder a wire to each negative terminal of the pieces. Cut the sections of wires extending beyond the thick cable and solder the wires and cable together. Repeat the procedure on the left side, but this time, concentrate on the positive terminals. You should have wires extending from the positive and negative thick cables on the panel for current tapping.
Powering the panel
Connect positive and negative cables to the respective terminals at the output of a converter. The converter (DC power supply) converts AC power to DC power appropriate for LEDs. Ensure that the converter supplies sufficient current to power the LEDs to optimum brightness. Install a single pole single throw switch on the cable providing the converter with AC power (at the converter’s input). The switch acts as the medium between the mains supply and the panel. Plug the converter’s adapter to the mains socket and turn on the switch to power the LED panel.
DIY fabrication of LED light panels is a straightforward process that won’t take much of your valuable time. Items required are easy to use and can be sourced quickly from a local hardware store. Consider borrowing temporary equipment such as a drill to save on cost. Now you don’t need to worry about the quality of your studio lighting or home’s interior lighting once you implement the guide.